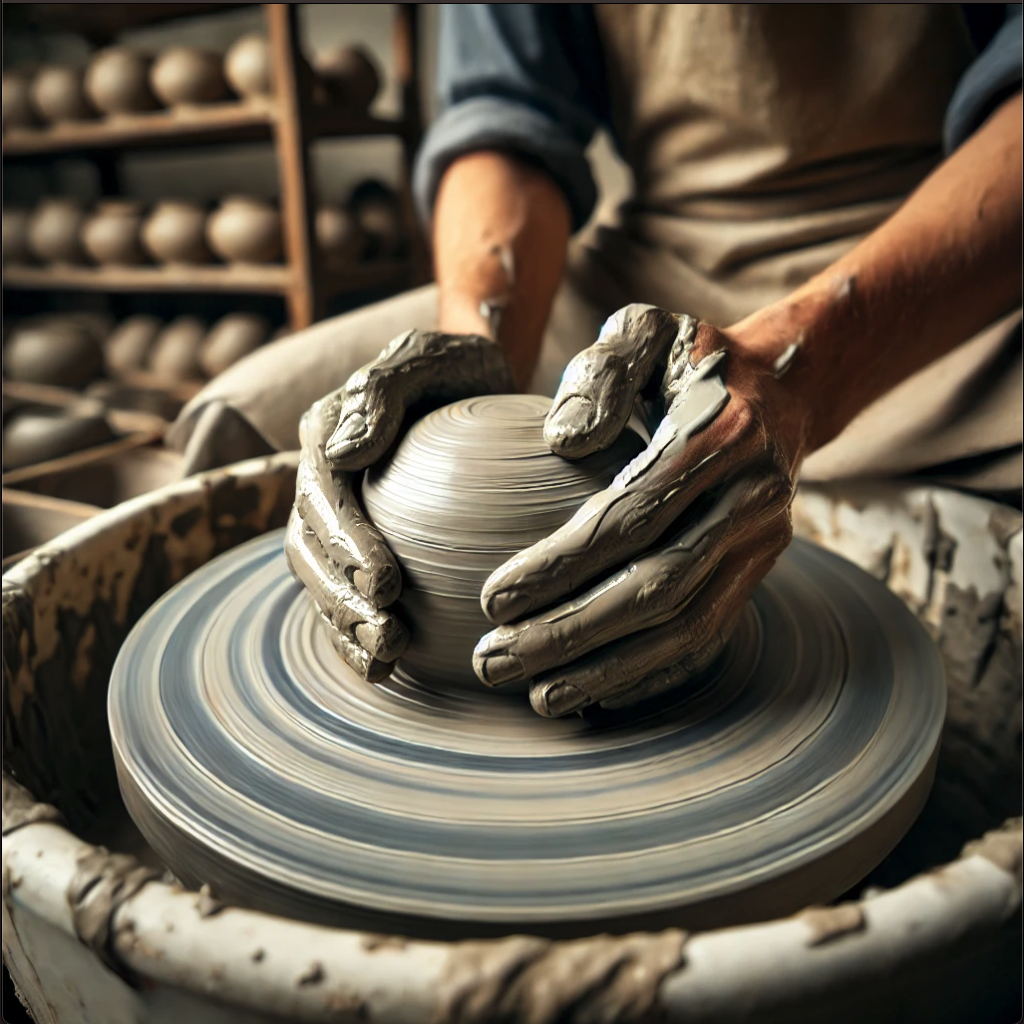
Centering clay is one of the most important steps in wheel throwing. Without proper centering, your pottery piece can become uneven or unbalanced, leading to frustration and wasted material. In this article, we’ll walk you through the process of centering clay on the pottery wheel, ensuring your clay is properly aligned and ready for shaping.
Step-by-Step Instructions for Centering Clay
1. Start the Wheel at 3/4 to Full Speed
Begin by setting your wheel to about 3/4 to full speed. Starting the wheel first ensures that you have enough momentum to work with the clay effectively. Avoid placing your hands on the clay before starting the wheel, as this can throw the piece off-center.
- Pro Tip: Never put your hands on the wheel before it starts spinning; doing so can take your clay off-center and defeat the purpose of this step.
2. Add Water to the Clay
Once your wheel is spinning, apply water to the clay to reduce friction. Keeping the clay moist is key to maintaining control and preventing your hands from sticking.
- Tip: Continuously add water as needed throughout the centering process to keep the clay smooth and workable.
3. Brace Your Arms for Stability
Position yourself so that both arms are braced for maximum control:
- Left Hand: Brace your left elbow against the inside of your thigh and your arm on the splash pan for stability.
- Right Hand: Place your right hand on top of the clay mound to apply pressure.
This positioning keeps your body stable, allowing you to use your body weight to control the clay rather than relying solely on arm strength.
4. Squeeze and Lift the Clay
Place your hands on both sides of the ball of clay and gently squeeze inward while pulling the clay upward. This action helps start the process of centering the clay.
- Key Tip: Focus on getting the clay to rise evenly as you squeeze, which will make it easier to push back down in the next step.
5. Push the Clay Down with Your Right Hand
Once the clay is lifted into a tall mound, place your right hand on top of the clay mound, applying downward pressure with the palm. Use your left hand on the side of the clay to guide it as you press down.
- Tip: Brace your left elbow against your thigh to ensure your hand stays steady as you push the clay down. This prevents your hand from moving too much and keeps the clay under control.
6. Control the Clay, Don’t Let It Control You
As the clay spins, it’s important to make your hands move the clay, not the other way around. Apply firm but steady pressure with both hands, ensuring the clay stays centered as it is pushed down.
7. Slowly Remove Your Hands
Once you’ve pressed the clay down and feel it is centered, slowly remove your hands from the spinning clay. Count to five as you remove your hands to ensure the clay stays in position and doesn’t get thrown off balance.
- Pro Tip: Taking your hands off the wheel too quickly can cause the clay to lose its centered form, so be patient and deliberate with this step.
8. Repeat Until the Clay Is Fully Centered
Repeat this process of squeezing the clay upward and pushing it down several times until the clay is completely centered. The goal is to ensure your hands stay still while the clay spins perfectly under them.
- Key Tip: The more still your hands, the better centered your clay will be. Keep practicing until you can center the clay with minimal movement in your hands.
Why Centering Clay Is Important
The primary purpose of centering clay is to align the clay particles so they move in the same direction. This alignment gives the piece better structure and makes it easier to shape. Proper centering also ensures that the walls of your pottery will be even, preventing unevenness or collapse during the throwing process.
Next Step: Opening the Clay
Once your clay is fully centered, you’re ready to move on to the next step—opening the clay. This involves creating a hole in the middle of the centered ball of clay and preparing it for shaping. Opening the clay is essential for making functional pottery forms like mugs, bowls, and vases.
Common Mistakes to Avoid When Centering Clay
- Not Bracing Your Arms: If your arms are not braced properly, you’ll struggle to control the clay. Always keep your left elbow braced against your thigh and your arms steady.
- Removing Hands Too Quickly: Taking your hands off the clay too fast can cause it to come off-center. Always count to five when removing your hands.
- Overworking the Clay: If you find yourself centering over and over again without success, you might be overworking the clay. Stop, reassess your technique, and try again.
Conclusion: Mastering the Art of Centering Clay
Learning how to center clay on the pottery wheel is fundamental to becoming a skilled ceramicist. With the right technique and a bit of patience, you’ll be able to consistently center your clay and create balanced, professional-quality pottery. Remember, practice makes perfect, so keep refining your skills and soon you’ll be centering clay with ease.
Click here to go to the next step in the process pulling the walls.